Ready to run your first giveaway or contest? In this quick start guide we’ll give you insight into how to setup your first giveaway or contest, get an overview of all the features, plus give you some tips & tricks to get the most interaction from your campaigns.
Woorise is becoming one of the best contest platforms. Whether you’re a blogger, online store, agency, marketing manager or publisher giveaways are a powerful way to engage your community & grow brand reach with consumers. Our aim here at Woorise is to make it easy for you to build powerful and beautiful giveaways for your own business or clients.
In this article
Create a new campaign
In your Woorise dashboard click on Campaigns. Next, start with a template by clicking on the Add New button. Once you add a new giveaway you are taken to campaign’s edit page. From this screen you can customize your campaign, Preview changes or maybe save it as Draft and work on it later.
Enter a campaign title
This is a name that helps identify the campaign. This will appear publicly so please name something recognizable and attractive like “Woorise Giveaway: Win an Apple MacBook Pro”. You also have the option to override the title from the Share page and enter a different title when sharing the campaign.
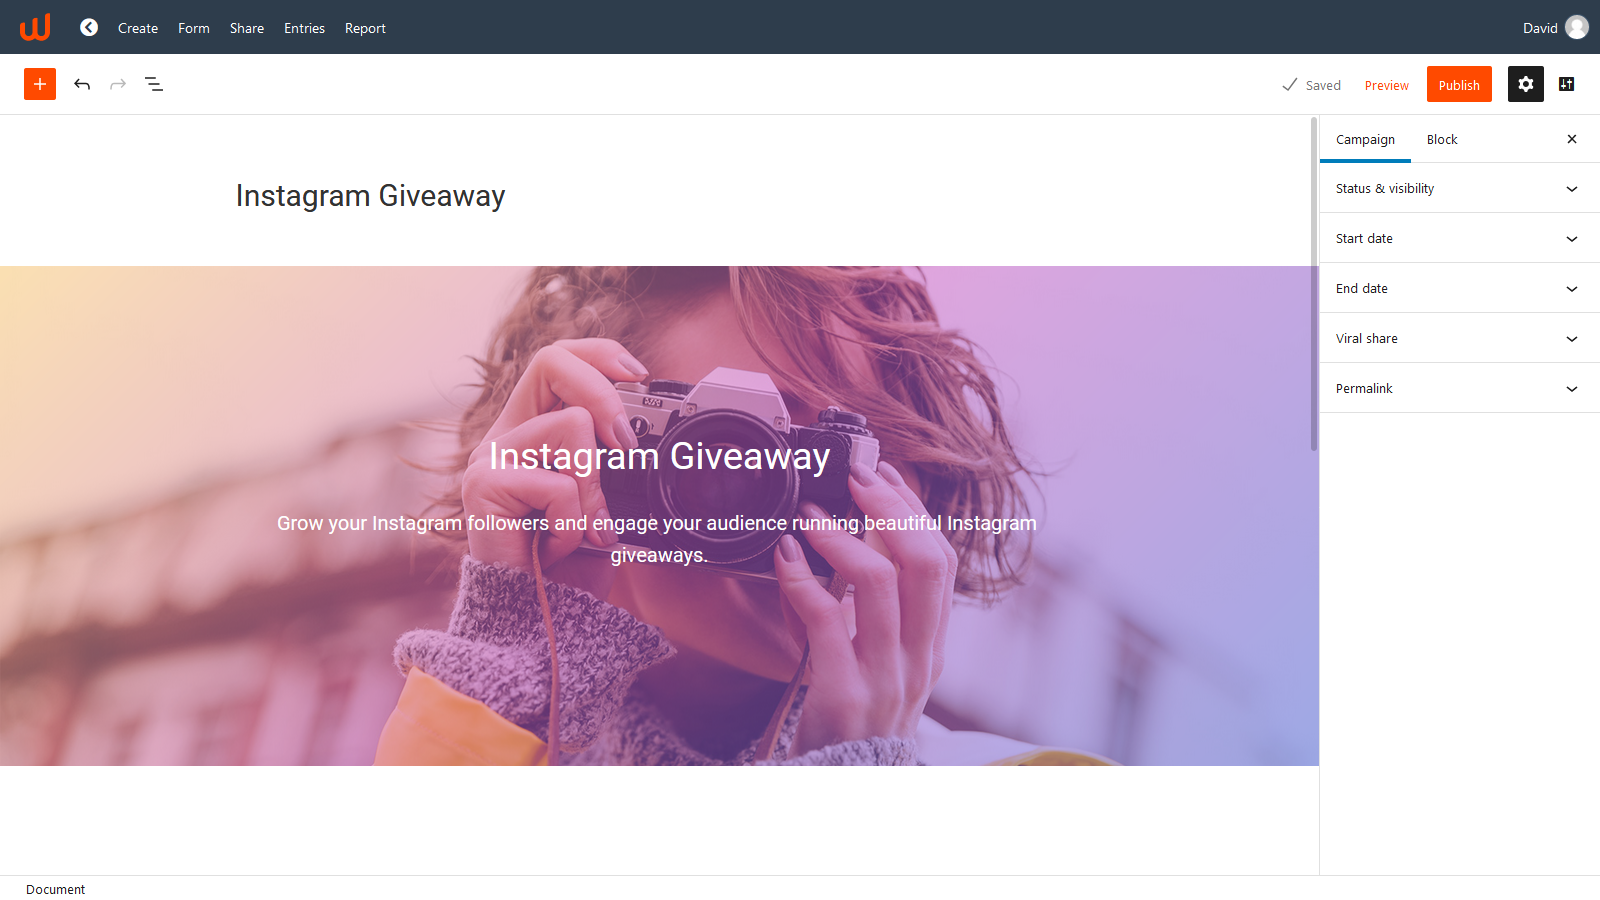
By default the title will determine the URL that gets generated for your landing page. In the Permalink section (right sidebar) you can edit slug to have a different URL from the title:
https://woorise.com/sitename/win-apple-macbook-proAdd content blocks
Next, you can edit the existing content or add new content such as images, text, videos and more using blocks. Simple click on the plus icon on the top left corner or the plus icon in the position where you want to add a new block.
You can change the position of blocks, group them or remove them. Each block has their own settings that you can adjust from the right sidebar.
Campaign settings
End date
Set the expiration date of your campaign. Additionally you can edit the content that will appear when the campaign ends.
Viral share
Increasing Bonus Entries will enable the Viral Share feature. A box with a unique link and share buttons will show up after form submission that will allow users to share and refer the campaign to their friends.
Popup
With Popup you can add any content in a popup window. To allow your users to open the popup simply add the “#popup” to any link or button.
Add new form fields and actions
In the Form page you can edit existing fields or add new fields and social actions from a drag and drop interface. Each field and action has their own settings.
Set confirmation messages and email notifications
Finally you can edit the default Confirmation Message or redirect the user to a page after form submission. Optionally you can send Email Notifications on form submission.
Share or embed
In the Share page you can preview and customize the sharing meta (image, title and description) before sharing your campaign with the world. In the same page you will also find options to embed your campaign in your website.