By scheduling an email notification you choose exactly when the notification should be sent with simple, effective scheduling options.
Schedule notifications relative to a Date field on the form, a static delay from the time the notification event is triggered (e.g. a form submission), or on specific date.
In this article
How to Enable Scheduled Notifications

- Navigate to a form’s email notification settings.
- Edit an existing notification or create a new one.
- Adjust the Schedule setting to fit your sending needs.
Scheduled Notifications Settings
Delayed Notifications
Notifications can be sent on any interval after the specified event. Select Delay from the Schedule setting and insert any number along with the internal. Whole and decimal numbers allowed.
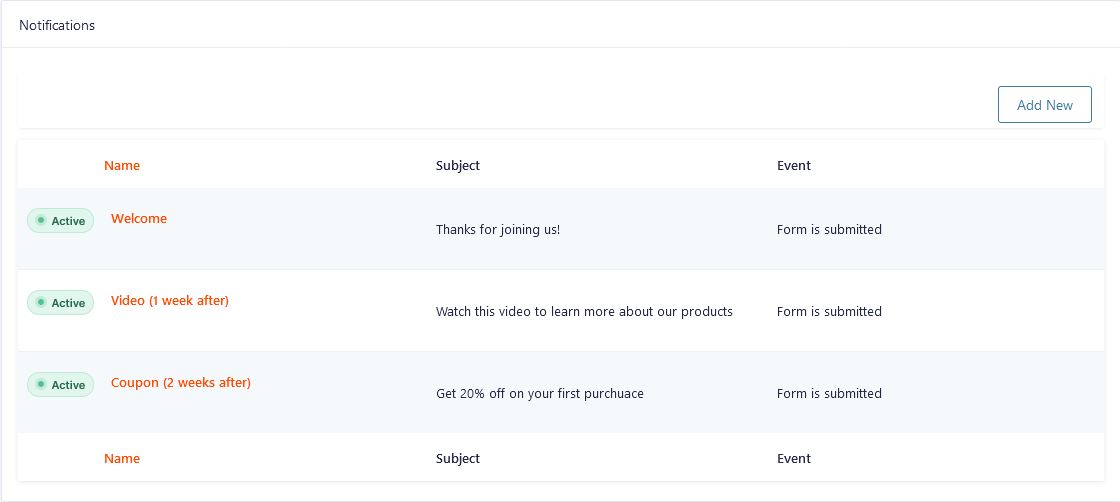
Since Woorise allows you to create multiple notifications, you can use this to set up a robust email marketing campaign without the need for additional email marketing integration. To do this, add multiple notifications that send after the form has been submitted and adjust the timing of the notifications to create a drip campaign.
Specific Dates and Times
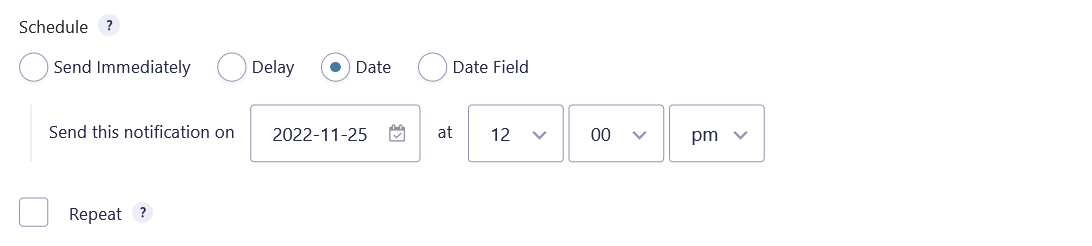
Scheduling notifications on a specific date and time is a similar process to delayed notifications. This feature is especially useful if you’re using your form to allow members to sign up for a volunteer event, to get updates on an upcoming sale, or to sell concert tickets. Select Date from the Schedule setting and then choose a date and time.
Trigger Notification Using Date Field Values
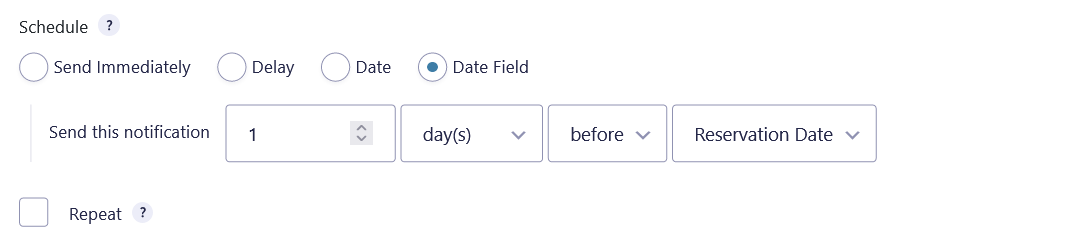
Notifications can be triggered before or after a date value that’s been submitted in a Date field on the form. Simply add a Date field to the form and the option to schedule notifications based on that date field will appear.
Since you can send notifications before the submitted date value, do note that if a notification’s determined schedule is a time before the current time, it will be ignored. The notification will not be sent and it will not appear in the Scheduled Notifications list.
For notifications scheduled relative to a Date field, editing the entry and modifying the date will reschedule that notification.
Recurring Notifications
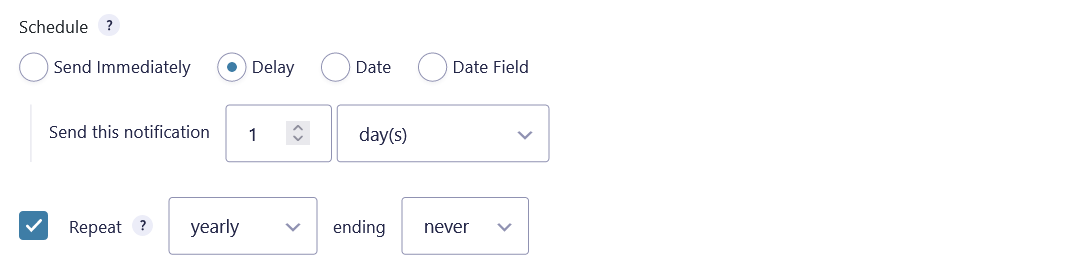
Scheduled email notifications can be sent every year, month, week, or day. Check Repeat to activate and choose the interval.
By default, repeating notifications send indefinitely. Set the ending after any interval of minutes, hours, days, weeks, months, or years.
Manage Notifications

Scheduled notifications can be viewed and deleted from the Entries page. View a single entry and scroll down to see all scheduled notifications. Hover over an unsent notification and click Delete to prevent the notification from sending.
For recurring notifications, each recurrence is scheduled immediately after the previous notification has been sent. Future occurrences are not displayed in the Scheduled Notifications list.
Reschedule Notifications
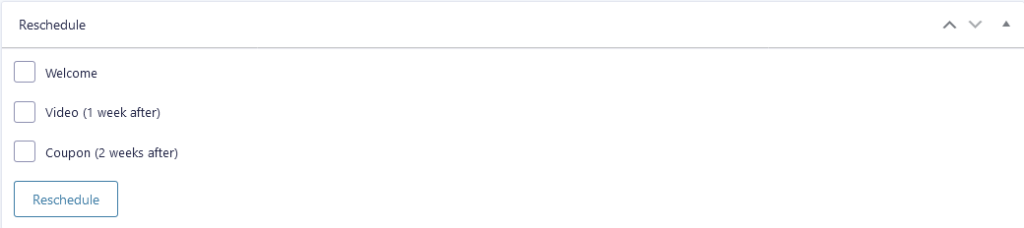
If you make changes to an existing notification’s schedule or create a new notification and want that new schedule to apply to existing entry, you can easily reschedule an entry’s notification.
When viewing a single entry, scroll down to find the Reschedule section. The Reschedule section appears on the Entry Detail page if you have at least one scheduled notification configured for your form.
Notifications with a “Delay” schedule will be rescheduled based on the time of the original submission and not from the time of the rescheduling.
Unsubscribe
If you’re using the scheduled notifications to send marketing emails to your customers, you will need to allow your recipients to unsubscribe to comply with your local anti-spam laws.
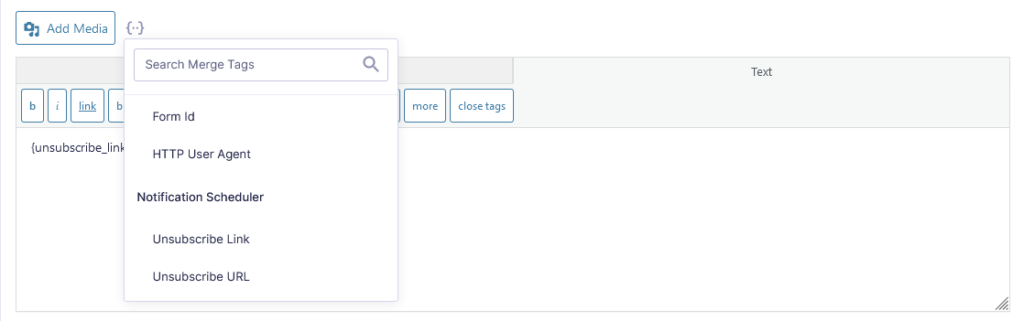
Use the {unsubscribe_link} merge tag to include a link that allows your recipients to unsubscribe. If you prefer to generate the link yourself, you can use the {unsubscribe_url} merge tag to output the unsubscribe URL.
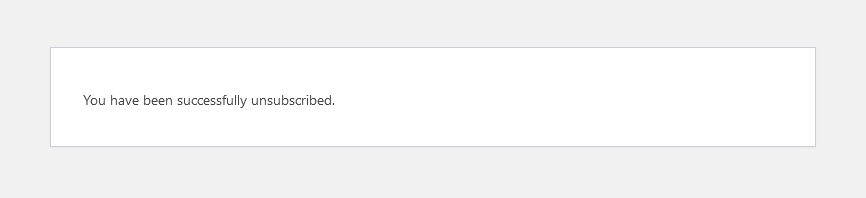
When the unsubscribe link is clicked, the recipient will be unsubscribed from all future scheduled notifications.
Managing Unsubscribes
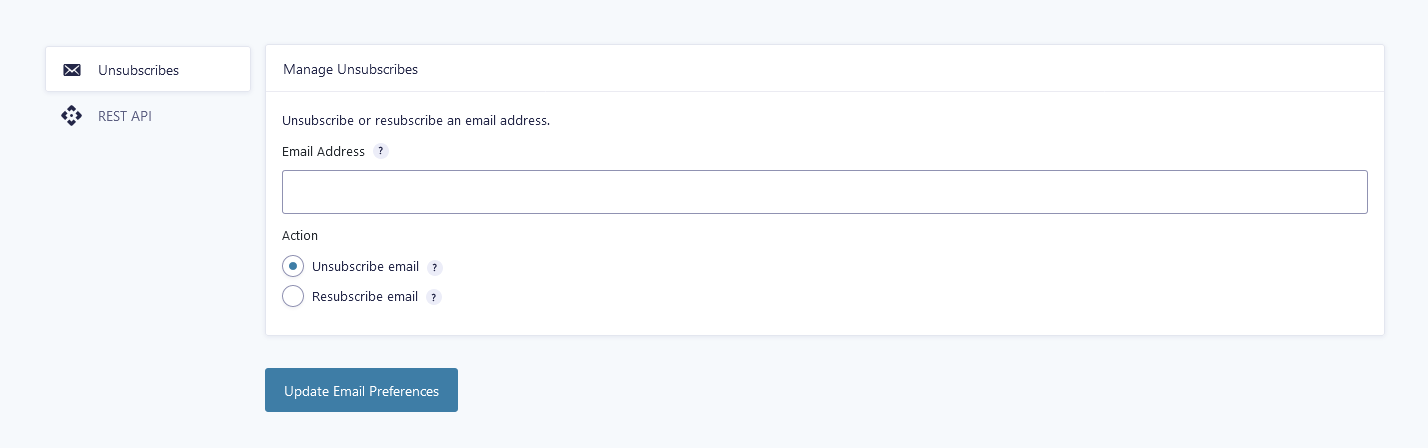
You can manually unsubscribe or resubscribe an email address via the Unsubscribes page. This is useful if a recipient has contacted you requesting to be unsubscribed or if a recipient has unsubscribed by mistake.
To visit the Unsubscribes page please click on the Actions > Unsubscribes while you are in the Notifications page.
Resubscribing an email will not automatically reschedule any notifications but that email will now be able to receive notifications that are scheduled after they have been resubscribed.